Add Bot to Email
While we develop our own integration with email, it's possible to integrate your bot using Zapier. As at the time of writing, Zapier offers a free 14 day trial. Mottle is in no way associated with Zapier, nor do we benefit financially from it. Use at your own risk.
Zapier also has specialized Triggers for Gmail, Outlook, Intercom, Zendesk and others!
You can easily have your bot respond to email messages sent to a special Zapier email address by creating a Zapier integration.
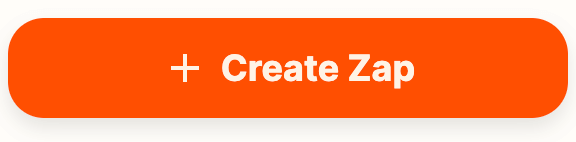
- Sign in to Zapier and click Create Zap:
-
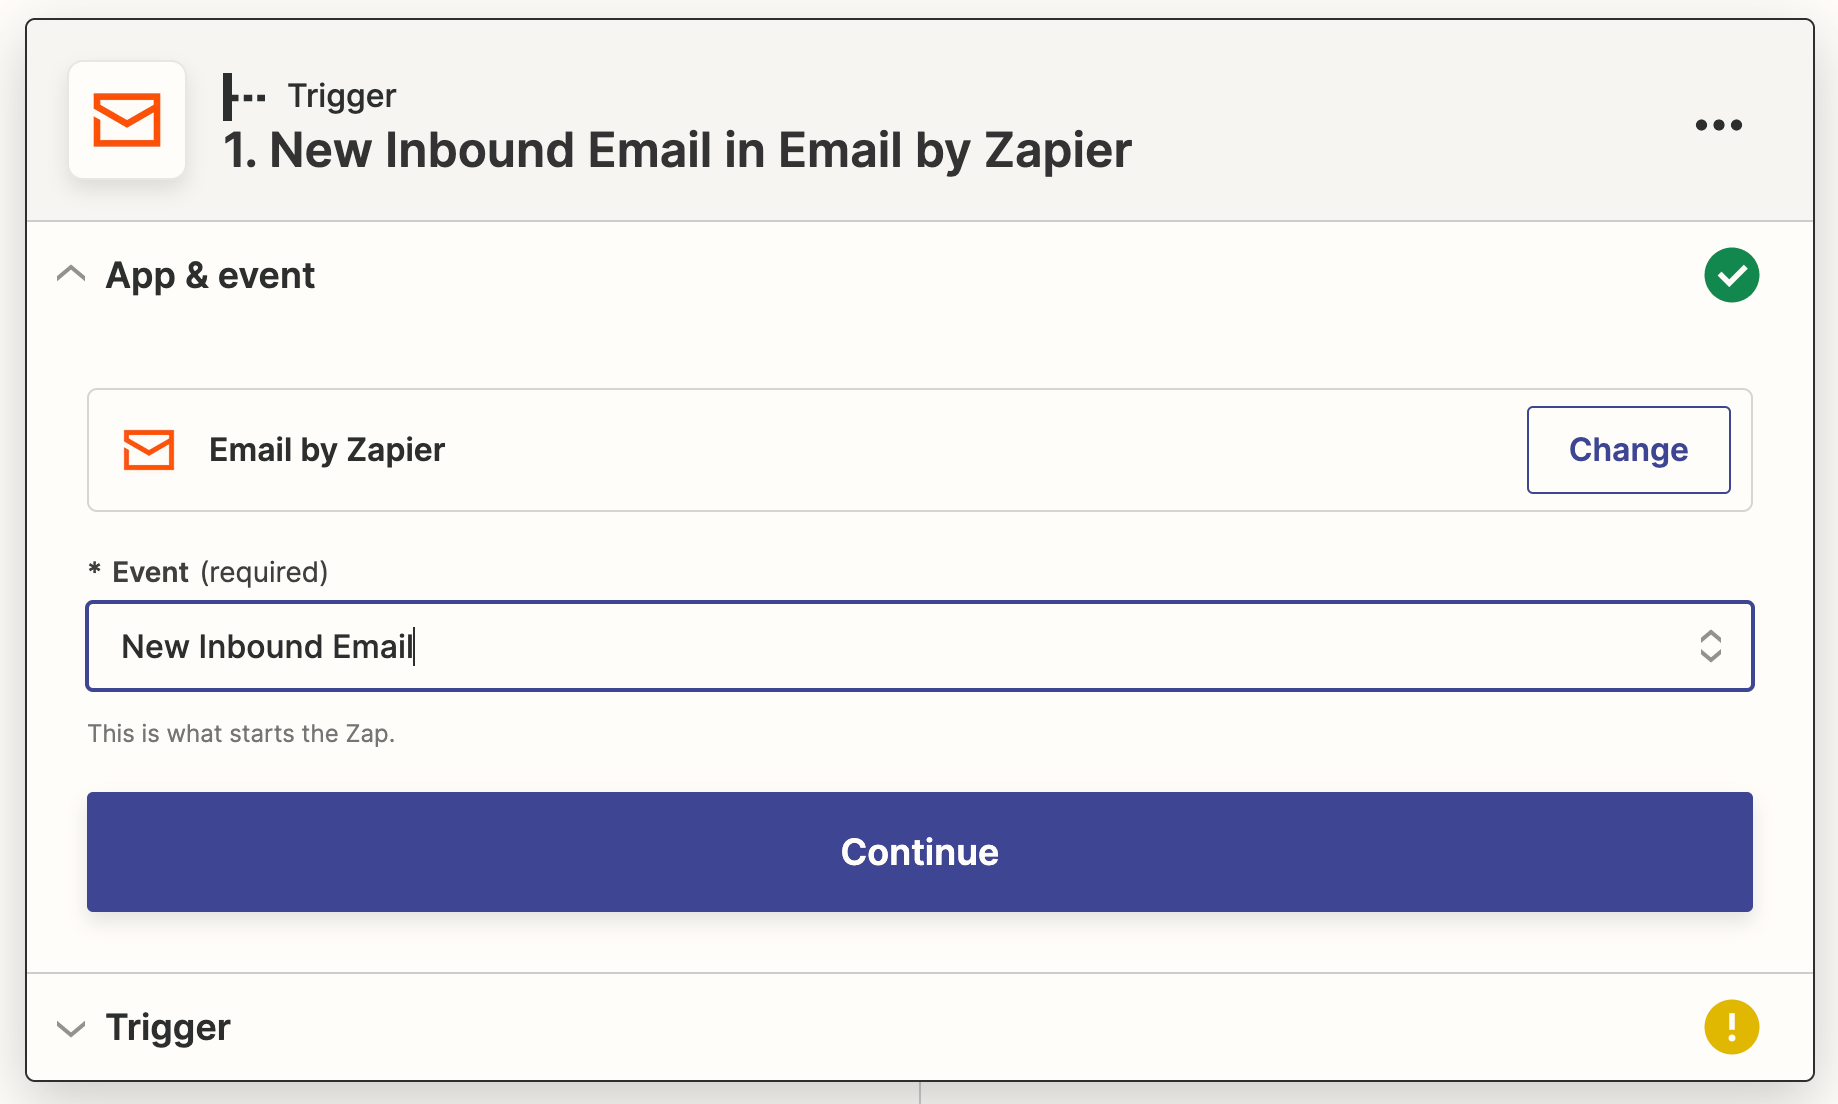
For Trigger, select Email by Zapier and for Event select New Inbound Email:
-
Click Continue and choose your email username. Make a note of your chosen email address.
-
Click Continue.
-
Test the integration by email to your chosen email address and then click Test trigger. It may take a few minutes for your email to arrive.
-
When set up correctly, click Continue.
-
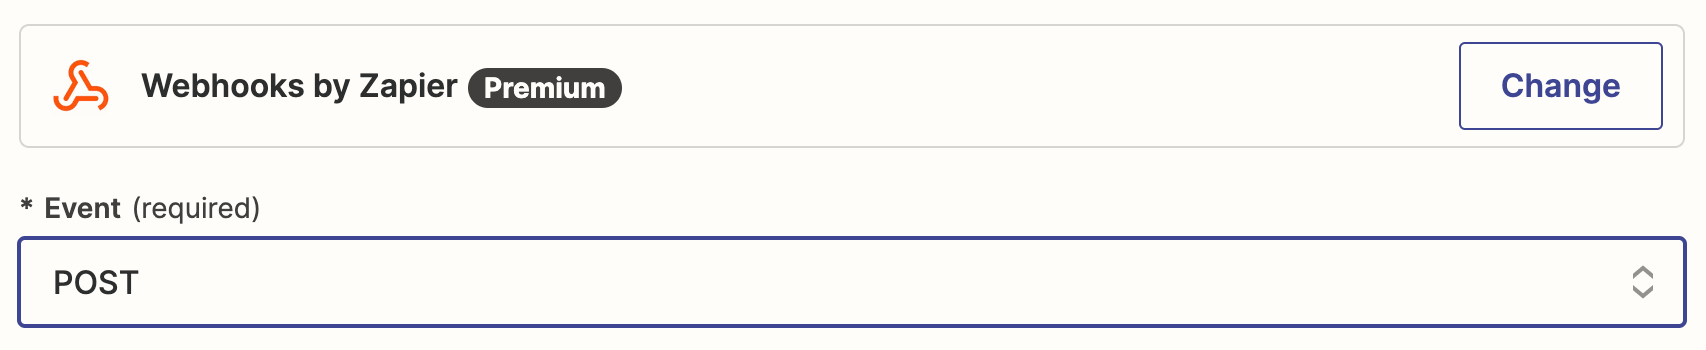
For Action, select Webhooks by Zapier:
- For Event choose POST:
-
Click Continue.
-
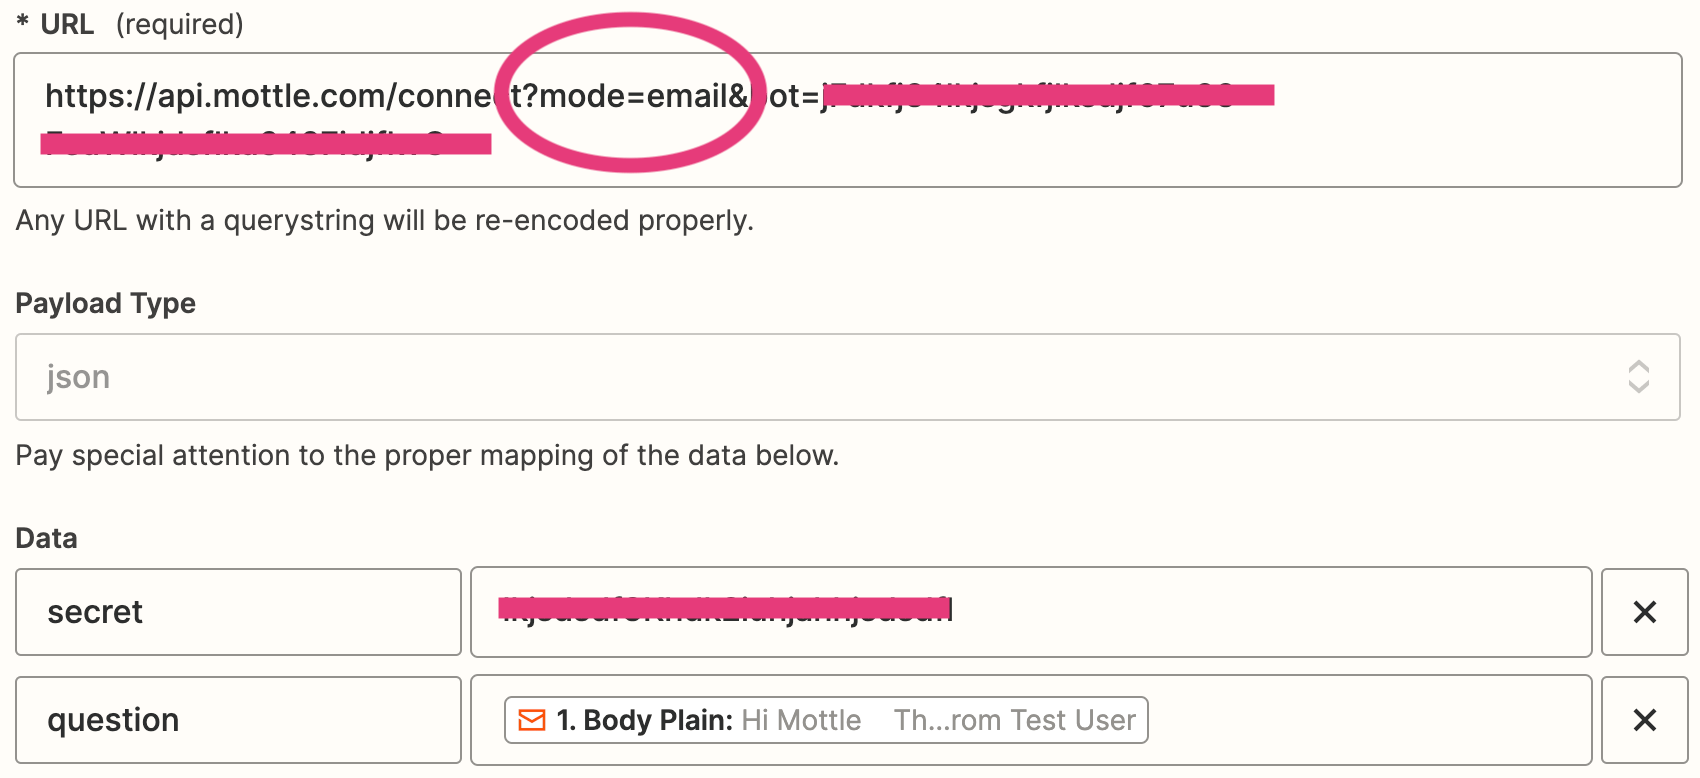
For URL enter
https://api.mottle.com/connect?mode=email&bot=YOUR_BOT_ID– being careful to substituteYOUR_BOT_IDfor your bot ID. Your bot ID can be found on the Publish / API Page.tipEnsure that you have
mode=email&contained in the URL. This is unique to the email integration. -
For Payload Type select JSON.
-
For Data, we need to add two rows:
-
secret– This should be your bot's secret key. Again, you can find this on the Publish / API Page. -
question– Click on the field to select a dynamic variable. Select the inbound email variable that starts with "1. Body Plain:". It should say something like1. Body Plain: \{whatever you typed in your email\}.
It should look something like this:
-
-
The rest of the options can be left as is. Click Continue.
-
Click Test Action to test the connection to Mottle. If you've done everything correctly, you will see something like the following:

-
We're not done, so don't Publish your Zap just yet. We need to send your bot's answer back via email.
-
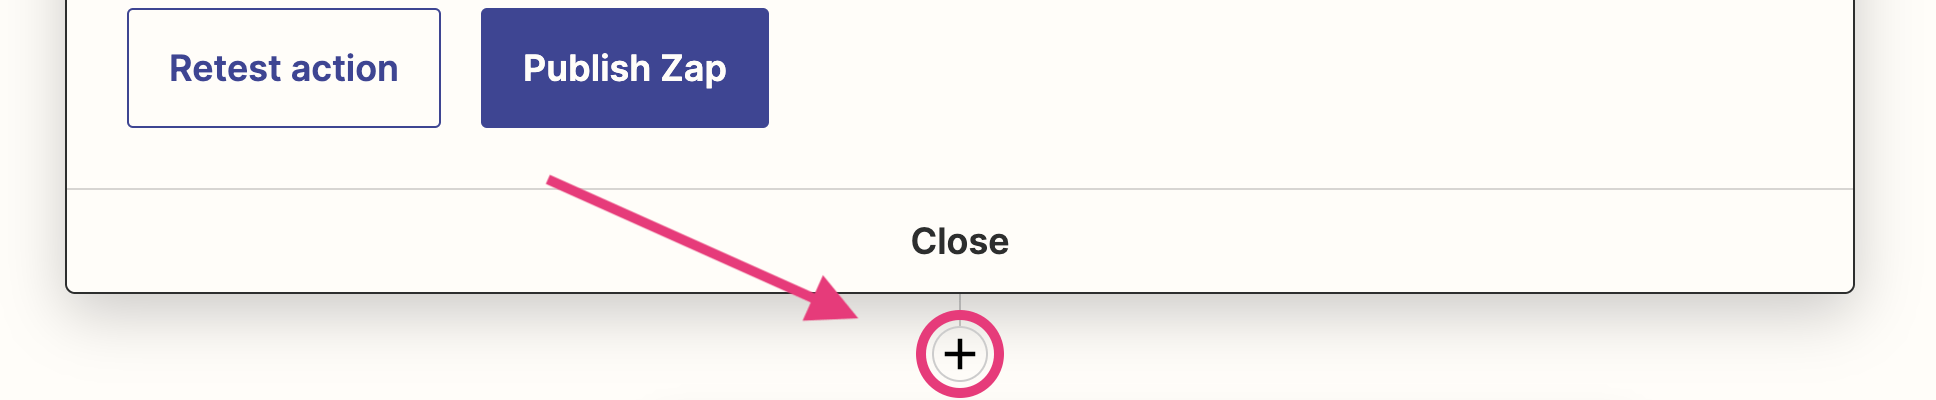
Click on the plus icon at the bottom of the screen:
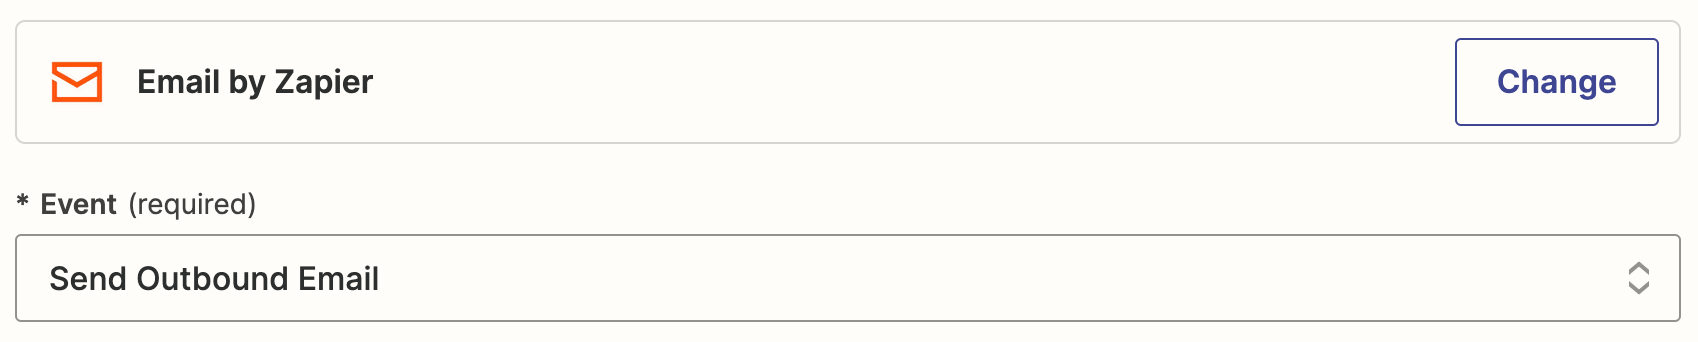
- Select Email again, and for the Event Type select Send Outbound Email:
-
Click Continue.
-
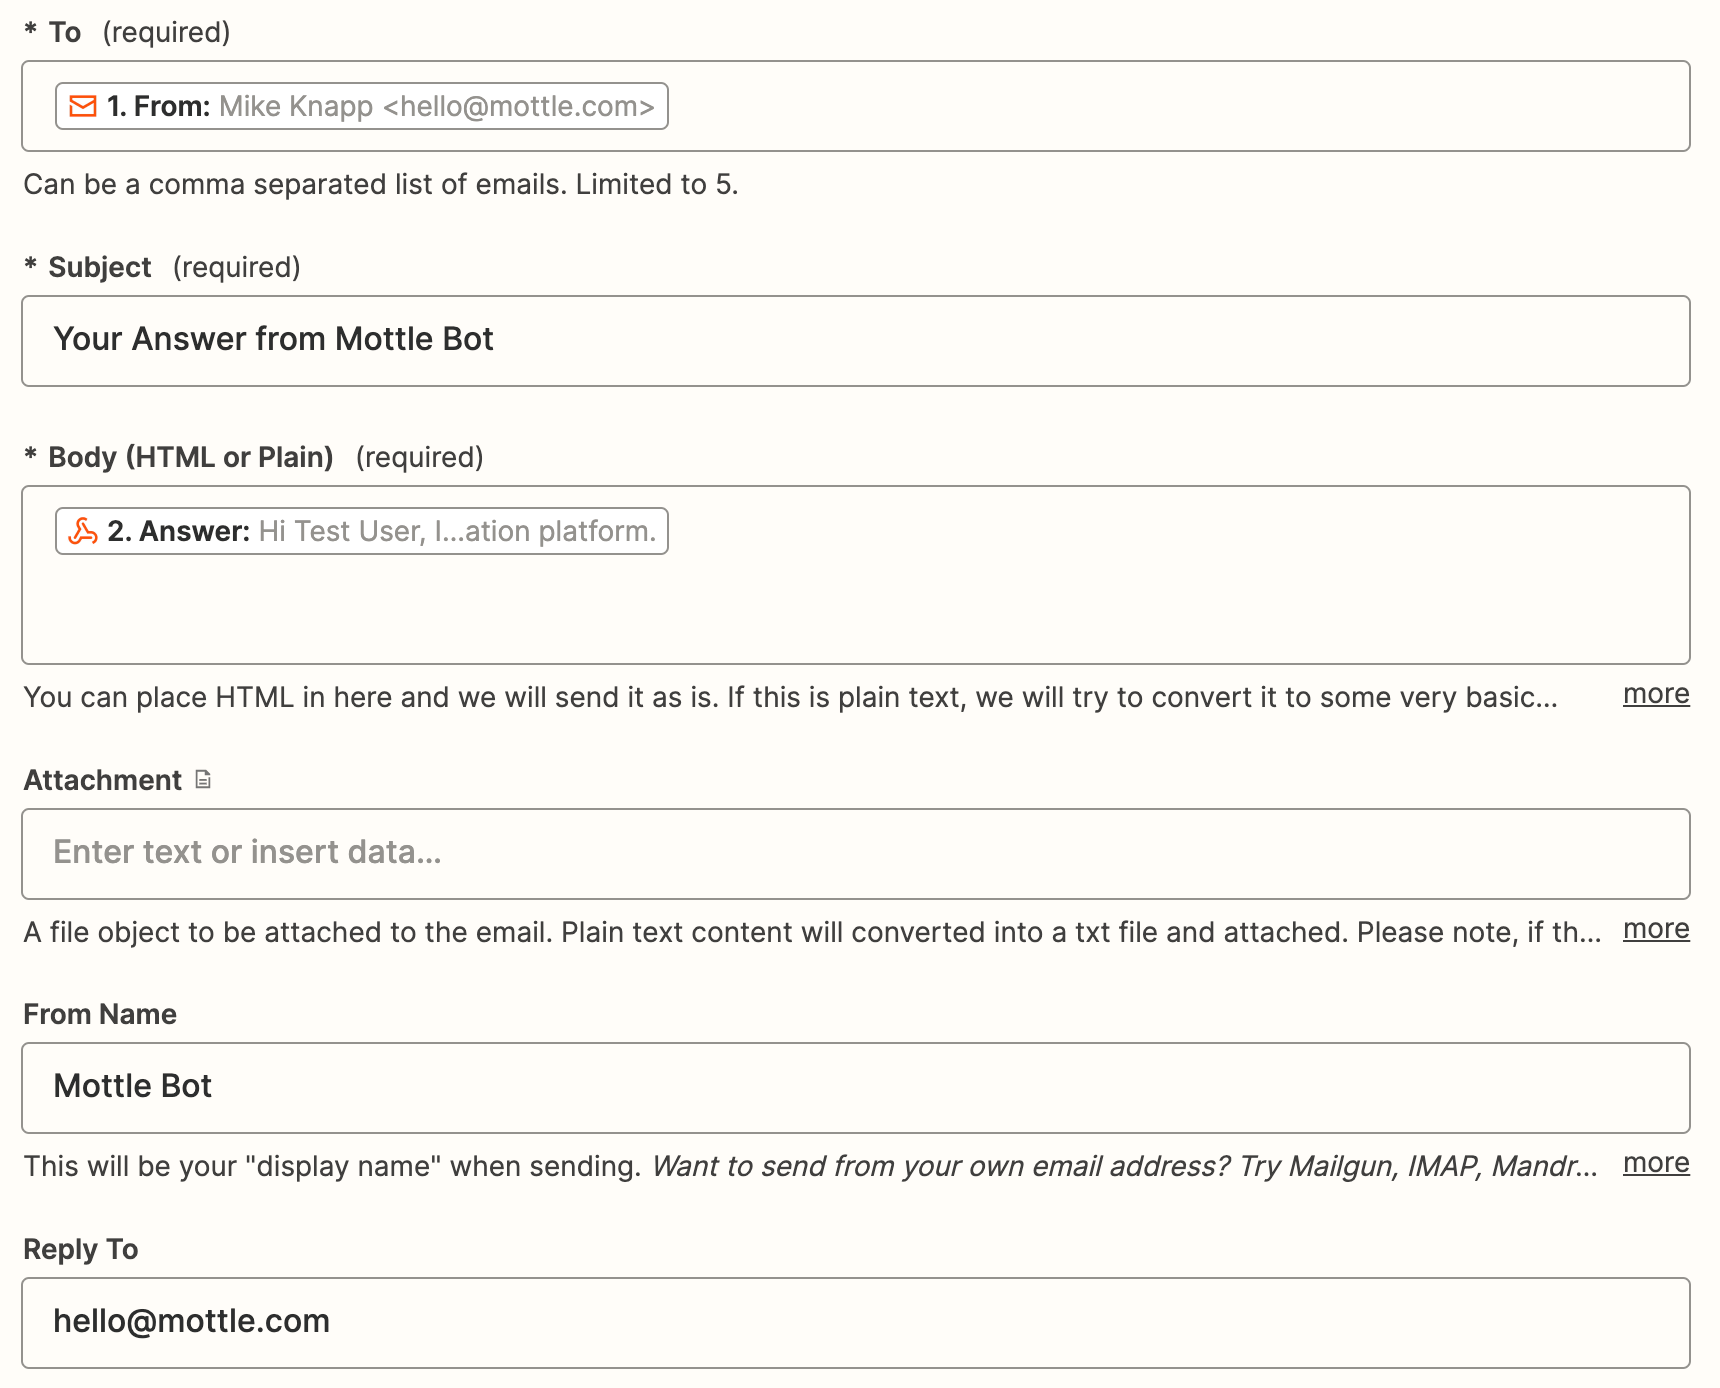
For To, click into the text field, and select the following dynamic variable: 1. New Inbound Email in Email by Zapier > 1. From {sender details}
-
Choose a suitable Subject.
-
For Body (HTML or Plain), click into the text field, and select the following dynamic variable: 2. POST in Webhooks by Zapier > 2. Answer {sample answer from earlier step}.
-
You can then choose to customize the remaining variables, for example, the Sender name, and reply-to address.
When completed, it should look something like this:
-
Click Publish Zap > Publish & Turn On to activate your bot.
-
Once activated, try sending your bot an email message. In a minute or so you should receive a message back from your bot.
-
Congratulations! You've now linked your bot to an email address!
Since Zapier Webhook requests are limited to 30 seconds, you may experience occasional timeouts, particularly when the OpenAI API is under stress (OpenAI status page). Unfortunately there is no way to send this information back to the user – the query will just fail silently. We will try to address this issue when we build our own email integration.